That’s it, you are finally decided to create a blog, good news! Creating a blog, in itself, is not very complicated but you have to master a lot of things to be successful with your blog. Indeed, there are several steps to know before getting started and several steps to follow after getting started. Here are the 11 stages in sequence.

Contents
- 1 What is a blog?
- 2 Why create a blog?
- 3 Step 1: Find a topic for your blog
- 4 Step 2: Choose the platform for your blog
- 5 Step 3: Choose a domain name
- 6 Step 4: Choose your web hosting
- 7 Step 5: Make a model of your site
- 8 Step 6: Choose the template
- 9 Step 7: Basic WordPress Configuration
- 10 Step 8: Write your first articles
- 11 Step 9: Index your site with Google
- 12 Step 10: Make your site known
- 13 Step 11: Monetize your audience
What is a blog?
According to Wikipedia, a blog is a type of site, used for the publication of short and periodic articles on a given subject or profession. I quite agree with this definition. For me, a blog is kept by a person who writes articles on a given subject.
Why create a blog?
You can create a blog for several reasons, here are the main reasons:
To earn money
Very often, people create blogs to earn money, it is a valid reason certainly, but this should not be the only reason under penalty of quickly giving up because you will not earn enough money and especially not enough quickly.
To develop a blog in terms of traffic and therefore money it takes a lot of time. After if you put the odds on your side, it will not be complicated to earn money.
To promote your business and find customers
You can also create a blog to publicize your business and find new customers. For this, nothing could be simpler, you will answer questions that your customers ask themselves.
A blog is also a way to prove your expertise on a subject. With a blog, you will be able to find customers at a lower cost.
Do you want to publish a book or become an author? You can become one with your blog and sell your e-book, book and even online training.
Finally, you can simply create a blog to share your passion with other enthusiasts or with your friends and family.
Now that you know why you want to start blogging, I’ll take you step by step through how to create a blog.
Step 1: Find a topic for your blog
I will summarize for you how to find a blog topic. First of all, you need to list your passions, as well as your skills on a sheet or an excel file. Indeed, writing articles on your passion or your skills will be easier in the long term, because blogging is a marathon, not a sprint, it will take months and months to develop it.
You must avoid talking about a subject that is too broad. you risk never succeeding in positioning yourself in the search engines due to the increased competition. In addition, by wanting to deal with all subjects, you will not become an expert on any subject with your readers and customers.
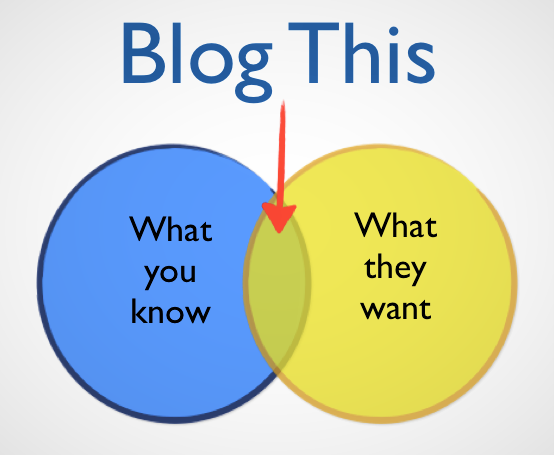
Your subject must answer a need or a problem for your future visitors.
Example:
- I don’t have enough traffic on my site
- I want to train to pass my competition
- I need cards to review my exams
- I want to learn to tinker
Your subject, of course, should allow you to have lots of article ideas. For example, I wanted to create a blog on costume pockets, I did a dozen articles and then I finally understood that the subject was too narrow.
Once you have listed the different topics on which you will like to blog, you will have to decide between them by analyzing the competition, the volume of research on the niche and the way in which you will make your blog profitable. Once you know more about all of these points it will be easier to choose your blog topic.
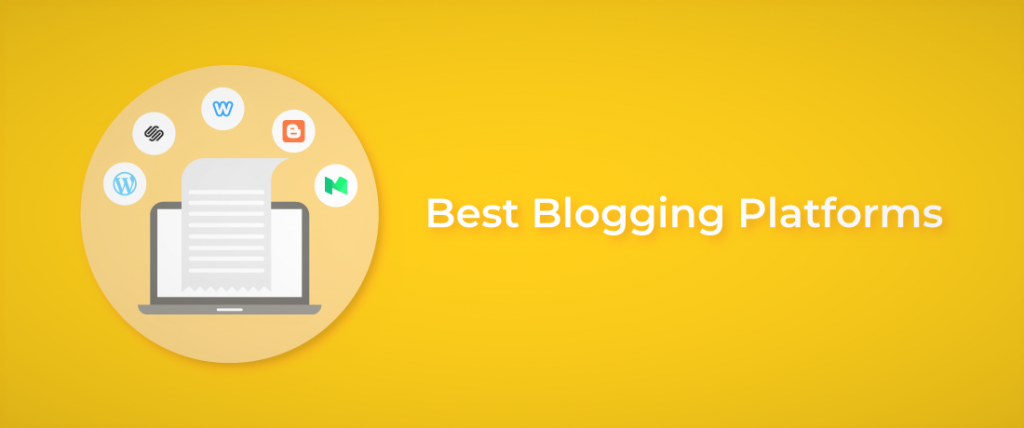
Step 2: Choose the platform for your blog
There are lots of platforms that allow you to create an online blog, but in my opinion, only one merit to be installed, the CMS: WORDPRESS. it is the number 1 platform, the most used in the world. But why choose this platform?
WordPress, first of all, is used by 20 to 30% of the sites in the world! Good performance! It is a guarantee of quality and seriousness. In addition, WordPress is easy to use even for beginners in blogging.
The last advantage of WordPress concerns the community. Indeed, WordPress knew how to federate a community around its tool, so if you block on something you can very easily find an answer to your problem.
A WordPress site can be 100% free, apart from the domain name and the host, in addition, there are plenty of free professional WordPress themes. You can very well ruin your site with plugins (features that you add to your site for free).
WordPress is therefore ideal for having a professional blog, and to get started cheaply.
You have 2 possibilities to set up your blog with WordPress:
Hosting with WordPress.com: this method is very limited in terms of functionality.
WordPress hosted on your server: this is the most flexible method, the rendering of the site is much more professional, the site itself is more flexible, so I recommend that you host WordPress on your site in this way.
Step 3: Choose a domain name
To choose your domain name you have 2 possibilities: either an EMD (exact match domain) or a brand.

possibility 1: What is an EMD? It is when you put in the domain name the keyword you are targeting. This technique is very often used for natural referencing (we will talk about this in more detail later in this article).
Possibility 2: A brand will be more likely to be intended for readers to bring effect to the blog, and that we can remember the site quickly.
So, you’re going to tell me what to choose? I tend to say that it depends on your goals! If you want to develop a brand around your blog, choose a fun name instead! While if you want to position your articles on Google, the EMD can help you a little.
Be careful not that, there are many other things to do to position yourself. Depending on the theme it is easier to opt for a brand than an EMD, if you have a fashion blog, for example, it would be interesting to create a brand. On the other hand, if you want to talk about your skills, and EMD could be interesting.
Now that you have chosen your domain name, You can quickly see if the domain name is available or not, if so you just have to order it.
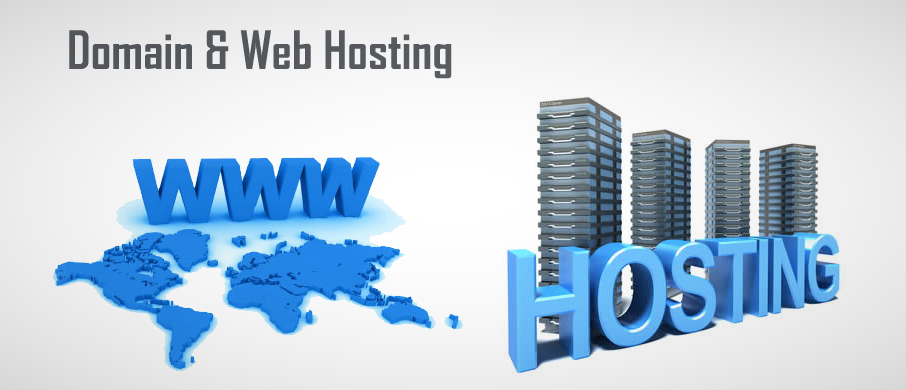
Step 4: Choose your web hosting
Before you start looking for a web host, take the time to think about what you are looking to gain from this relationship.
If you are starting a new blog you should start it with shared hosting, multiple clients and websites share the same server. Most first-time hosting customers need to switch to a shared plan when entering the web hosting world and then decide when to upgrade to a VPS or dedicated plan to meet your growing needs.
Step 5: Make a model of your site
Before choosing your template, you must make a model. Because this model will help you choose the right theme in line with your requirements in terms of design and functionality.
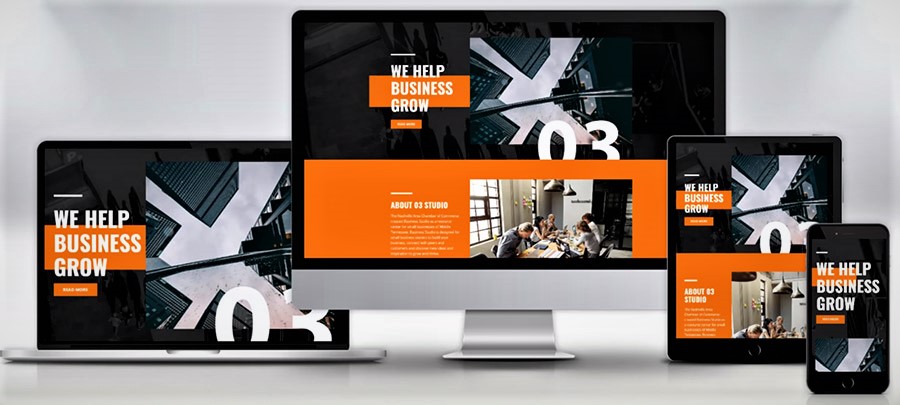
In addition to the site model, you must list all the features that you want to find on your site.
You can do it on a sheet as well.
Step 6: Choose the template
Now that you’ve mocked up your site and know the features you want to put on your site, you need to choose a WordPress theme. There are 2 possibilities:
you can opt for a free template; you will also find some on the WordPress site: free WordPress theme or buy a template on themed marketplaces. The free themes are not bad with the difference that they are used by millions of people, difficult to differentiate, especially in terms of design, with a free one.
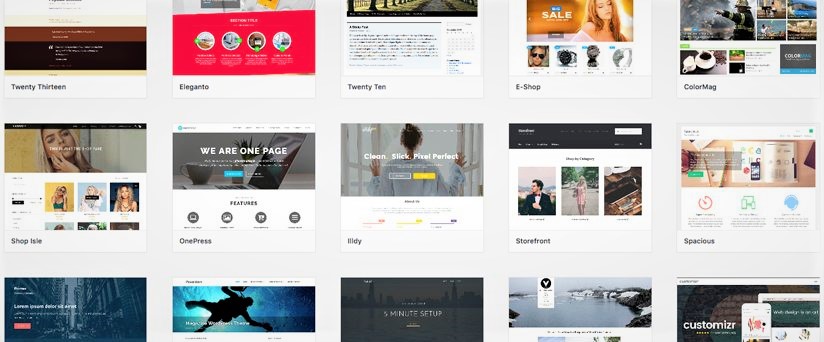
This is why, in my opinion, you have to opt for a paid template. The paid templates are not excessive. I find that investing in a paid theme that will be more professional is a good thing especially since it can be reused for other sites if you have to create several.
If you want to go further, I recommend the excellent elegant theme which provides several templates. For the price of one, you have more than 80! In addition to that, you have premium plugins grafted to the theme.
Go to “extensions” then “themes”, you have an “add” button you click on it and you add your theme (this must be in zip file), once downloaded, you click on the template image and you just click on “activate” to activate the theme.
Step 7: Basic WordPress Configuration
Now that you’ve chosen your blog topic, you’ve chosen your domain name, taken your domain name, installed WordPress and a theme, you need to configure WordPress.
Modification of permalinks
The first thing to do in my opinion is to change the URLs of your articles. To do this click in “settings” in the left menu and on “permalinks” then click on “article name” then save the modifications.
Personalize the blog
You can customize your site by clicking in the left menu on “appearance”> ”customize an interface” will appear and allow you to modify the name of your site, the slogan, the menu, and you can also determine which page to use for the home page and which page will be the blog page.
Add widgets
Still, in appearance, you click on “widget”, you can then add widgets which will appear either on the left of your theme or on the right depending on the configuration of your theme.
You will have the list of plugins that you can install, if you have done your model well you will have no trouble knowing what to add to this place
The essential plugins to install on your WordPress blog
There is a plethora of plugins on WordPress, it is very complicated to choose which plugins to install on your blog.
Add a plugin
To add a plugin, you have 2 possibilities: either you already have the file, in this case, you can click on the “extensions” tab, then “add”, on the right “add an extension” you have a button “ put an extension online ”you just have to add the file. You can then configure the module either in “settings” or directly in the menu, a tab with the name of the module will be created.
If you do not have the file, you can, via the search engine, search for the module you want.
Create an About page
The about page is an essential page in my opinion because this is where you can explain who you are, what you can bring to your visitors and especially why you are legitimate on the subject, I advise you to take time to write this page and above all post it in a visible area of your blog.
To write a page click on pages> add.
Edit your user information
It takes up a little the principle of the page about, on each article is displayed an author block with the name of the author as well as a small presentation, here is the author block of the blog.
This allows readers who arrive directly on an article to know who they are dealing with and to humanize your blog.
To modify user information, click in the menu on users> modify users. You just have to fill in the various information requested such as your biography, your photo, the URL of your other sites and social networks.
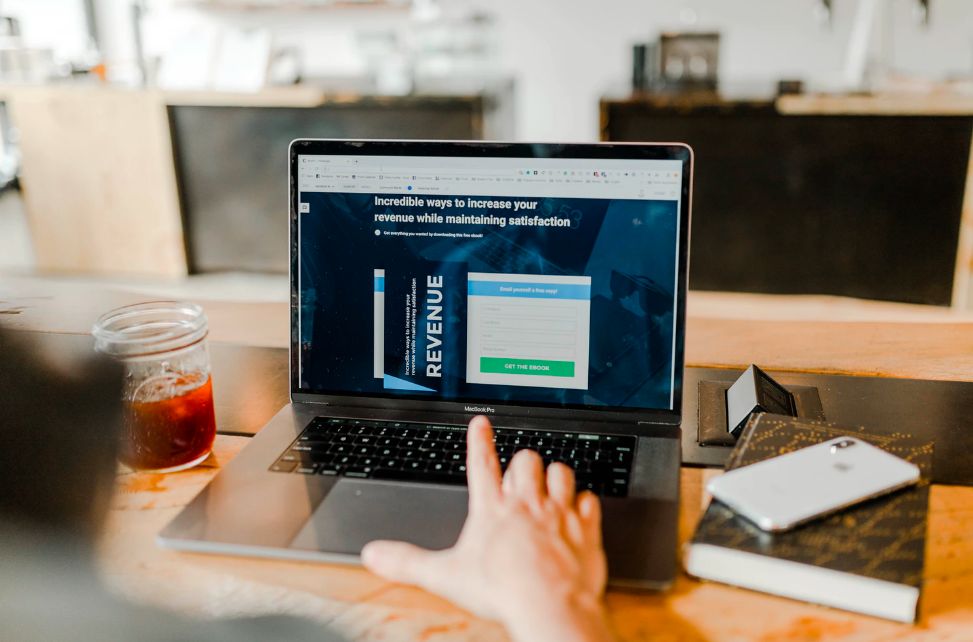
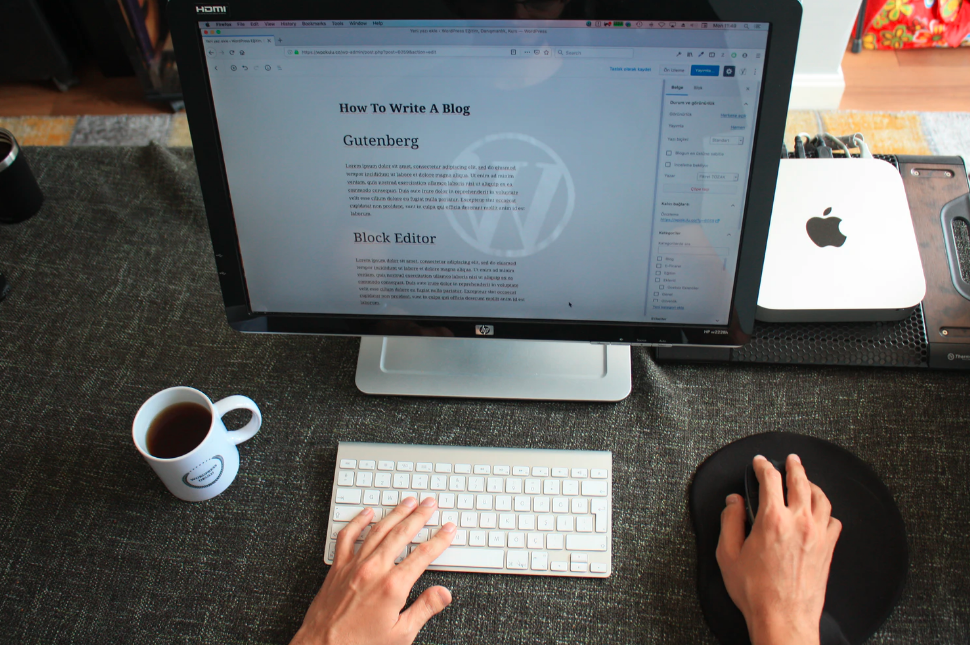
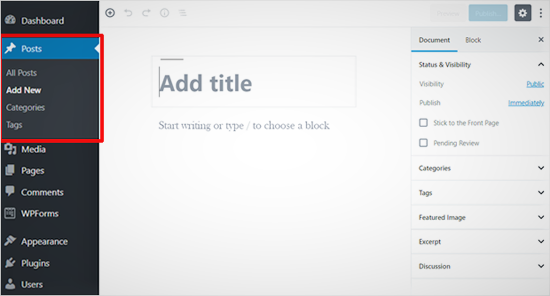
Step 8: Write your first articles
Once you’ve done all of this you can finally write your first articles. To create an article, nothing simpler, click on article> add. You will arrive on this interface:
Remember to fill in the following information: the title tag, the meta description tag, the cover photo, fill in the category of the article.
Advice: you must be regular in blogging, 1 article per week is a good frequency in my opinion.
Step 9: Index your site with Google
Now that you have created your blog, it is necessary to make it known to our friend Google who will bring us the bulk of our traffic.

To index your site you can go through this link:
- Index your site with Google
- Create a search console account and send your sitemap
Once you’ve done that, Google will know that your site exists, but for it, to position, it will take much more than that. We will see that.
Step 10: Make your site known
Blogging is useless if nobody visits your blog, here are some tips to promote your blog.

SEO
SEO represents all the techniques that allow better referencing on search engines and in particular the most used: Google.
To develop the traffic of your blog, you must imperatively train yourself and master the basics of SEO, otherwise, you may never see your traffic curve take off.
Quality content
This is, in my opinion, one of the most essential things, your content must be of quality so that it is shared whether it is on social networks, or via a newsletter. To help share your articles, display sharing buttons in your articles. You must take great care with your content.
Guest blogging
Guest blogging is the act of publishing an article on the site of another blogger, it is a great way to publicize his site. Bloggers like you simply have 24 hours in a day, they will not be against a guest article on their sites.
Before asking for guest blogging you must get in touch with the influencer/blogger, either on social networks or on comments on their articles. Once the relationship is established, you can then ask to publish a guest article.
Comment on blogs in your topic
By commenting on blogs in the same theme as you, you make yourself known to the blogosphere, it will be easier to start partnerships with other bloggers and moreover you show your expertise to potential readers.
Social media
You can already first share your articles on social networks, and then get in touch with influencers in your field to ask them for their opinion on your content and why not get a share with their audience, hence the importance of having exclusive quality content.
You can via your site capture the email address of visitors in exchange for a gift (a free ebook for example), once you have the address of the visitor, you can share your latest articles with this audience. However, be careful not to overuse the email, otherwise, the subscriber will unsubscribe.
Computer graphics / videos
Videos and infographics are very shared media, if you talk about a subject that interests people there is a good chance that your infographic or your video can go viral and be shared with as many people as possible. Large media can even publish it, and there your site will be very exposed and therefore will quickly be known.
Interview with influential people
Imagine that you are interviewing an influential person on the web in your area, and that he decides to share your post, then his audience will discover you and this will bring you qualified traffic.
And above all you must be patient and regular, you will not get results in a few days/weeks, only time will make the difference. The biggest blogs have been owned by their owners for years and years.
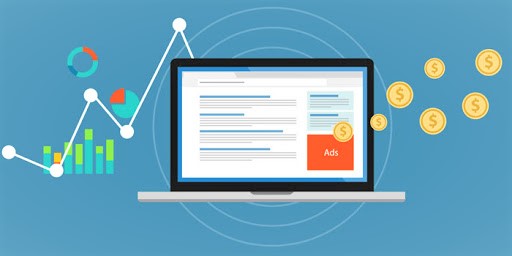
Step 11: Monetize your audience
Now that you have traffic it is time to monetize your audience, to be rewarded for all your efforts. To earn money with a blog there are 4 pillars in order from the least profitable to the most profitable.
We come to the end of this article, before ending I wanted to list the do’s and don’ts when you keep a blog, this will allow you to know success with your blog.
To do
- Showing your head, it humanizes your site, visitors have more confidence because they don’t just see a website but a person.
- If you want to be successful with your blog, be consistent and persistent.
- You have to publish articles regularly, what could be worse than a site where the last article dates from 6 months ago.
- Become an expert in your field (bring evidence, social proof, interview experts).
Not to Do
- Write articles and wait for traffic to arrive alone.
- Write low-quality content.
- Have an unprofessional design blog.